
In brief
A PV area is a part of the installation with a uniform orientation; it is drawn as an outline on the map or imported from a KML file. Depending on the PV system type ("Roof Parallel", "Roof Mounted", "Facade", "Ground Mount"), the compass direction, tilt and height of the modules are entered. Spots without modules, such as roof windows, are cut out as excluded areas.
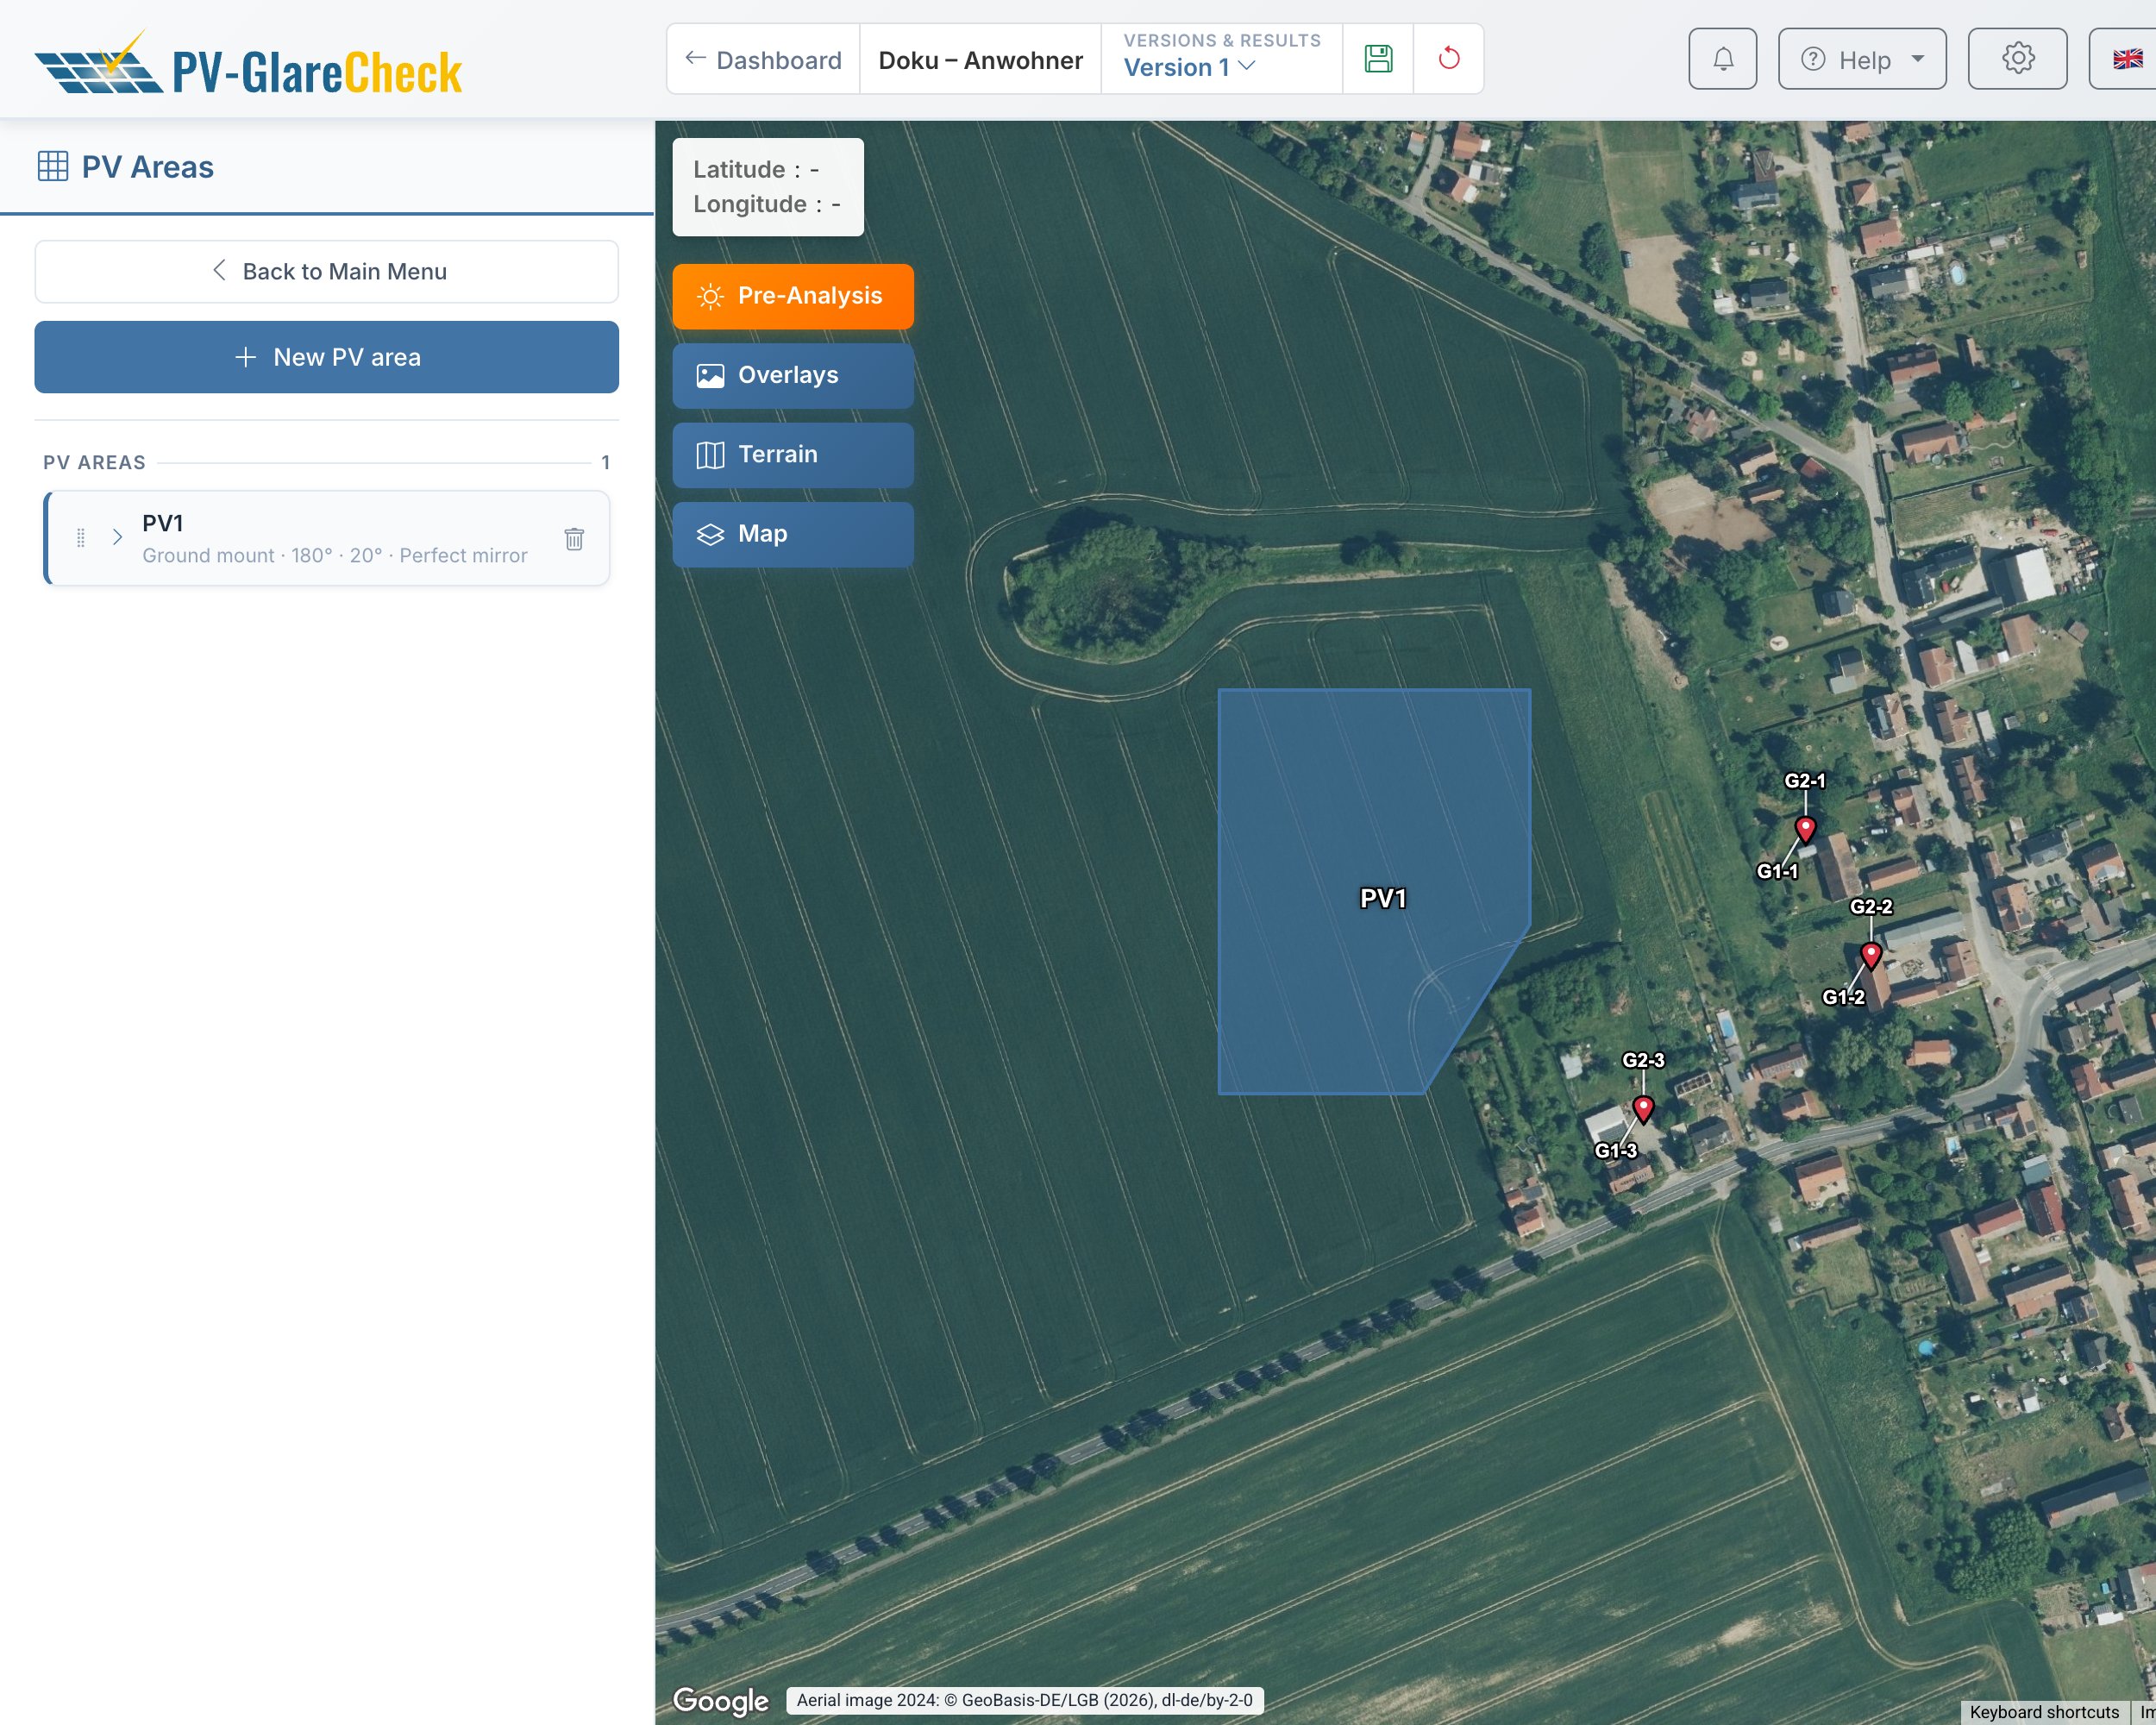
A ground-mounted installation is entered as one outline of the whole mounting area; individual module tables are not traced, and the area counts as fully covered. If orientation, tilt or slope position differ, the installation is split into several PV areas. Per simulation, 3 areas are possible in the Free plan and 50 in the Pro plan (Ch. 3).
7.1 Entering
- In the "PV Areas" menu, choose "New PV area" and select the system type (Ch. 7.2).
- Draw the area or upload it as a KML file. All corner points must lie within the project area.
- In the area's object card, enter orientation and heights (sections 7.3 and 7.4) and select the module type (Ch. 8).
- For ground mounts, check the terrain under "Terrain and cross tilt" (sections 7.5 and 7.6).
| Type | How it is drawn |
|---|---|
| "Ground Mount", "Roof Mounted" | click the corner points, a double-click closes the area; also via KML |
| "Roof Parallel" | three clicks: points 1 and 2 are the top edge, point 3 sets the depth to the bottom edge |
| "Facade" | two clicks, start and end; the reflecting side lies to the right of the drawing direction (drawn from west to east = south) |
For "Roof Parallel" and "Facade", the dimensions can be entered in the blue drawing banner instead of clicking: "Length" and "Direction" of the top edge or the facade line, for "Roof Parallel" then the "Depth" to the bottom edge; this gives an exact rectangle. Typing a number jumps into the first field, Tab switches the field, Enter places the point, an empty field takes the value at the mouse; the direction is in degrees from north, clockwise (90 = east). The same input is available when drawing obstacles (Ch. 10.1).
KML import. Each polygon in the file becomes a separate area. Polygons with holes are rejected; cut-outs are created as excluded areas (Ch. 7.7). Elevation values in the file can be used: for ground mounts as the terrain elevation of the corner points (the area then lies on a best-fit plane), for roof installations either as absolute roof height or as terrain elevation.
7.2 System types
The type is chosen when the area is created and cannot be changed afterwards.
| Type | Used for | Height relative to |
|---|---|---|
| "Ground Mount" | ground-based installation, fixed or tracked | terrain at every point of the area |
| "Roof Mounted" | tilted modules on a roof, usually a flat roof | roof surface (plane through the roof heights of the corners) |
| "Roof Parallel" | modules parallel to the roof surface | ground level (GL) of the area |
| "Facade" | vertical or tilted modules on a facade, fence or free-standing | GL of the area |
PV areas do not occlude each other in the calculation. A PV area in front that is meant to block the view is additionally entered as an obstacle (Ch. 10.1).
7.3 Orientation and mounting
The azimuth is the compass direction the modules face (0° north, 90° east, 180° south, 270° west); the tilt is their angle to the horizontal. For "Roof Parallel" and "Facade", the azimuth is calculated from the drawing; "Swap Top/Bottom Edges" and "Swap reflecting side" turn it by 180°.
Dual orientation (east-west). In east-west installations, the module rows face opposite directions in pairs. The "Dual Orientation" checkbox adds "Azimuth 2", which always lies 180° opposite; the tilt applies to both. Two areas with the full outline are calculated, one per direction. The illuminance is therefore on the safe side; luminance and glare times are not affected. In the report and for the plan, the area counts once. Mutual shading of the two rows of a table is not calculated.
Tracked ground mounts (trackers) (Pro). Under "Mounting Type", "Tracking system (single-axis tracker)" selects the single-axis tracking model (tracker):
| Field | Meaning | Initial value |
|---|---|---|
| "Axis Orientation" | compass direction of the rotation axis; 0° = north-south axis | 0° |
| "Module Angle Range" | maximum rotation angle to either side | ±60° |
| Axis tilt | tilt of the axis in the terrain, in the terrain menu (section 7.6) | 0° |
| "Backtracking", "GCR", "Rest Angle" | in the "Tracking Logic" panel: turning back at low sun; GCR = module width / row spacing; smallest rotation angle during backtracking | on, 0.5, 5° |
All tracking parameters are required; the simulation does not insert any values. If one is missing, the to-do list reports it and the simulation does not start: "Tracker axis orientation missing", "Tracker angle range missing", "Tracker axis tilt missing or outside ±45°", "Tracker: backtracking not set", "Tracker: GCR missing", "Tracker: rest angle missing". "GCR" and "Rest Angle" are only needed when "Backtracking" is switched on. When switching to tracker, the app fills the fields visibly with the initial values of the table; a new tracker area therefore has no open items. For saved areas that lack a value, the to-do still appears.
The simulation calculates the rotation angle for every time step (default 1 minute) from the sun position (pvlib). The twelve monthly curves under "Tracking Logic" serve only for checking and for the report. Stow, fault and special positions required by the position paper can be calculated as a fixed variant with the set angle as tilt (Ch. 13).
7.4 Top and bottom edge
| Type | Inputs |
|---|---|
| "Ground Mount" | "Top Edge" and "Bottom Edge" of the modules above the terrain; for trackers in the stated tilted position |
| "Roof Mounted" | GL of the area, roof height per corner point above GL ("Enter Roof Heights") and top/bottom edge of the modules above the roof surface |
| "Roof Parallel" | height of top and bottom edge above GL |
| "Facade" | top and bottom edge above GL |
The top edge must lie above the bottom edge (for "Roof Parallel", equal heights are allowed). For "Roof Parallel", tilt and edge heights are linked: tan(tilt) = (height of top edge − height of bottom edge) / horizontal distance between the edges. One of the three values is determined from the other two with "Auto-Calculate". For roof installations, a roof height of 0 counts as not entered.
7.5 Terrain under the area
Only ground mounts have a terrain menu ("Terrain and cross tilt"). Step 1 defines where the area lies in space:
| Method | What happens | Suitable for |
|---|---|---|
| "Elevation grid" | terrain elevations on a grid of support points and at the corners; 25 m with a terrain model in the project, otherwise 50 m | uneven terrain |
| "Best-fit plane" | one plane through the elevations of the corner points | flat or uniformly sloped terrain |
With "Calculate GL automatically", the elevations are fetched again after every change to the area. If an elevation source does not respond, the values come from the next one, and the to-do list reports this. The elevation map in step 1 shows the area the simulation calculates with. Where the elevations come from is described in Ch. 6.
7.6 Cross tilt
The cross tilt is the tilt of the modules along the table axis, i.e. across their orientation. It arises when a table stands across a slope, and it turns the reflection direction. Without cross tilt, the modules are level across the table axis, even on sloped terrain. Values from −45° to 45° are allowed. A value outside is not limited in the object card or the cross-tilt menu but rejected with the message "The cross tilt must be between −45° and 45°."; the previous value remains. If the terrain gives more than 45° for a new zone, the editor reports "The terrain gives …° in this zone. Allowed is −45° to 45°; please enter the value." and inserts the base value of the area. When the zones are derived from the terrain again, all values remain unchanged as soon as one zone lies outside ("… zones are outside ±45° according to the terrain. The values remain unchanged.").
| Value | Slope towards the side | Example azimuth 180° |
|---|---|---|
| positive | azimuth + 90° | slope to the west (270°) |
| negative | azimuth − 90° | slope to the east (90°) |
Azimuth, tilt and cross tilt give the effective azimuth and effective tilt, for example 180°, 30° and +10° → 196.7° and 31.5°. Editor, pre-analysis, simulation and report use the same calculation.
Ground mount. Step 2 ("Account for cross tilt") evaluates the terrain under the area and adopts the median as long as "Calculate cross tilt automatically" is switched on. Step 3 ("Zones", setting "Differentiated") divides the area into zones with their own values, automatically from the terrain or drawn by hand; this requires an elevation grid and a terrain model in the project that fully covers the area. The simulation then splits the area into sub-areas, each with its own orientation; in the result it remains one installation.
Tracker. Here the cross tilt is the tilt of the rotation axis, from −45° to 45°; positive means the axis slopes down in the axis direction. A value outside is rejected on entry with the message "The axis tilt must be between −45° and 45°."; the previous value remains. If the terrain gives more than 45° along the axis, the value is adopted and reported ("The terrain gives …° along the axis. Allowed is −45° to 45°; the simulation stays blocked until the value fits."); the to-do list shows "Tracker axis tilt missing or outside ±45°", and the simulation only starts with a value in the permitted range. There are no zones.
Roof Mounted. The cross tilt is entered directly in the object card.
7.7 Excluded areas
Spots without modules, such as paths, roof windows or ventilation units, are cut out of the PV areas as excluded areas (Ch. 7.7).
Points to note
- Outline and orientation are independent. The module orientation comes from azimuth, tilt and cross tilt, not from the drawn shape. A correct outline says nothing about a correct orientation (Ch. V.2).
- Facades: The drawing direction determines the reflecting side; the orange marking shows it.
- Azimuth changed: The cross tilt applies across the orientation. With automatic calculation, the median and zones are determined again; for manual values, the to-do list reports that they must be set again.
Details: initial values, editing, evaluation of the cross tilt
Initial values of new areas. Ground mount: top edge 3 m, bottom edge 0.8 m, fixed mounting, GL automatic. Roof Mounted: top edge 0.4 m, bottom edge 0.1 m above the roof surface. Roof Parallel and Facade: azimuth from the drawing, Facade with tilt 90°. The module type is the first system module from the admin area.
Editing. Corner points can be moved on the map; dragging the middle of an edge inserts a point (not for "Roof Parallel" and "Facade"). For "Roof Parallel", the corners slide along their edge, and top and bottom edge stay parallel. The object card offers "Show on map", "Lock", "Duplicate" (the copy lies exactly on top of the original, for variants) and "Export KML" as icon buttons; the label appears on hover.
Evaluation of the cross tilt. At each evaluation point (25 m grid), the tilt along the table axis is determined from five elevations over 20 m as the median of the pairwise slopes; "Median" and "Spread" are shown. Automatic zones are created by classifying the terrain field in steps (default 1°); every step becomes a zone, so the whole area is covered. Patches below 200 m² and zones beyond the maximum of 12 merge into the neighbour with the longest common border. Where zones overlap, the steeper magnitude applies; where there is none, the median applies. Sub-areas below 25 m² are merged into the neighboring area. The pre-analysis calculates an area with zones uniformly with the median.